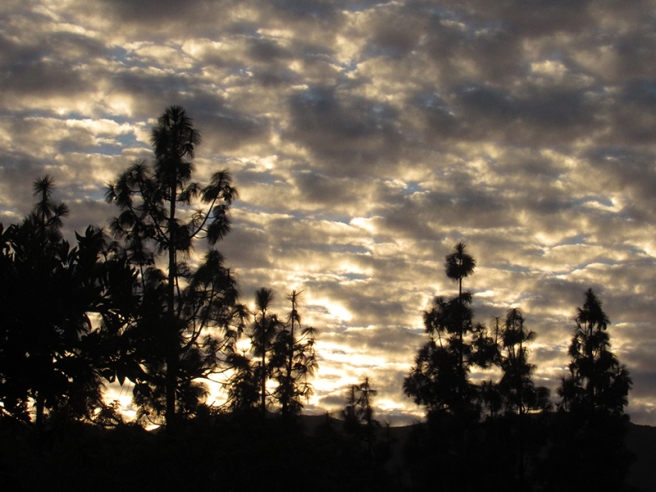
Clouds Alight (12/1/16)
The sky awash in flames
Beautiful burning clouds
One final burst before darkness.
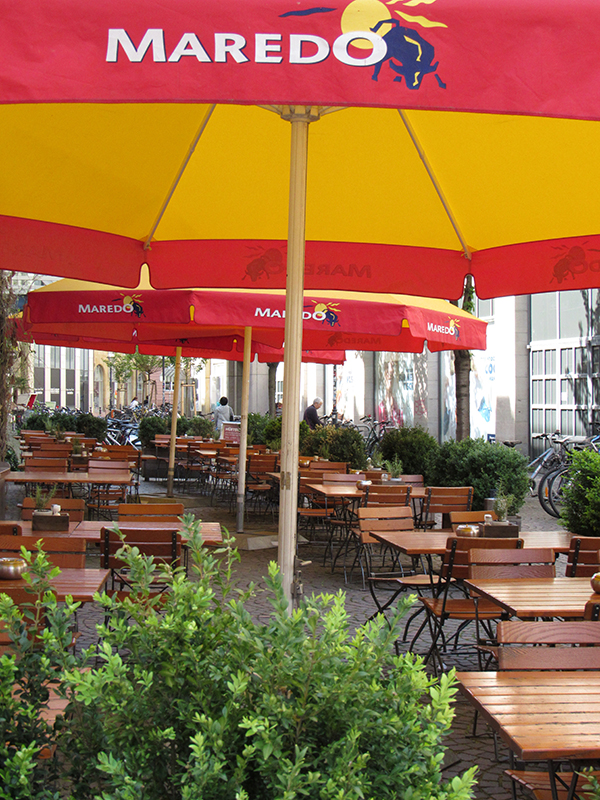
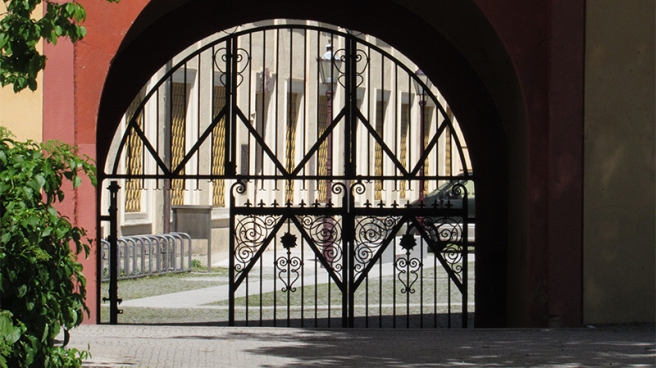
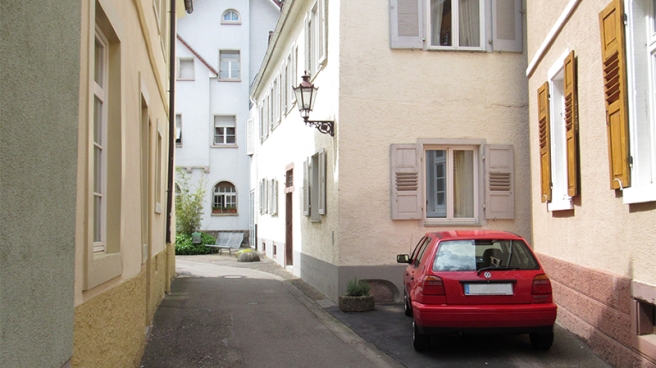
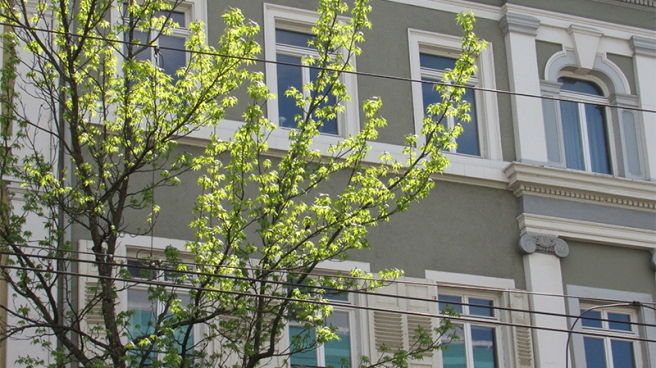
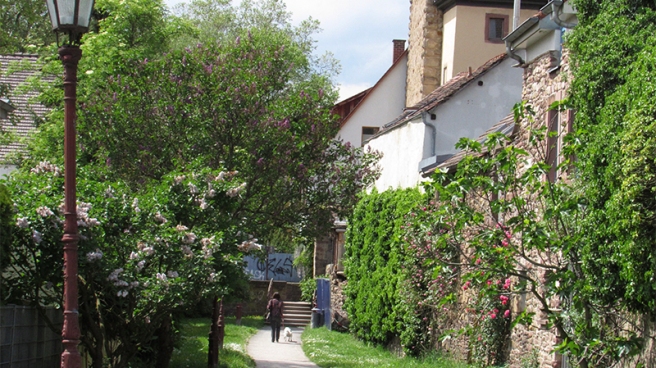
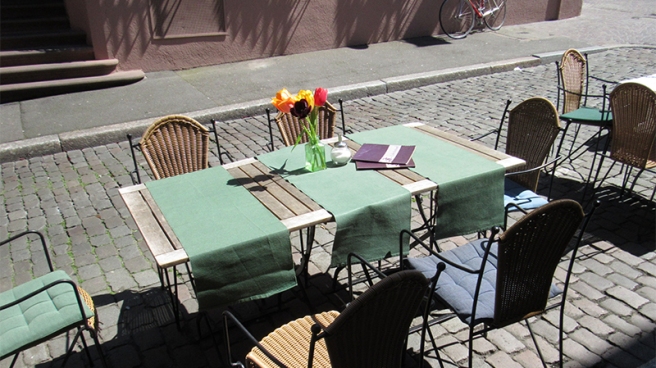
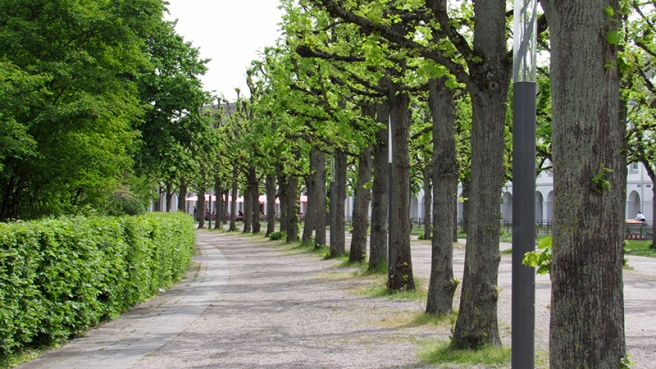
My friends and I spent a good majority of our time walking through the cities, exploring and experiencing what Germany had to offer. Here are some snapshots of the local area where we stayed and a few from Heidelberg.
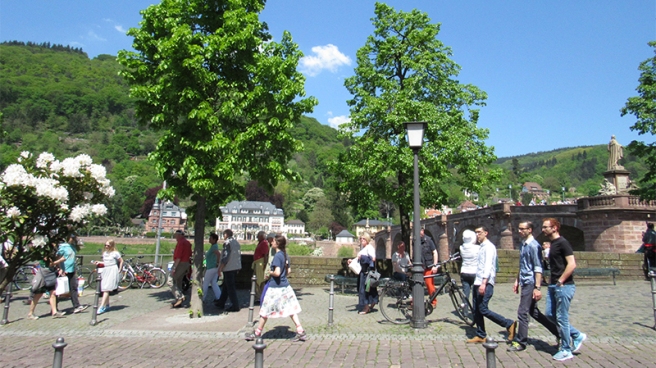
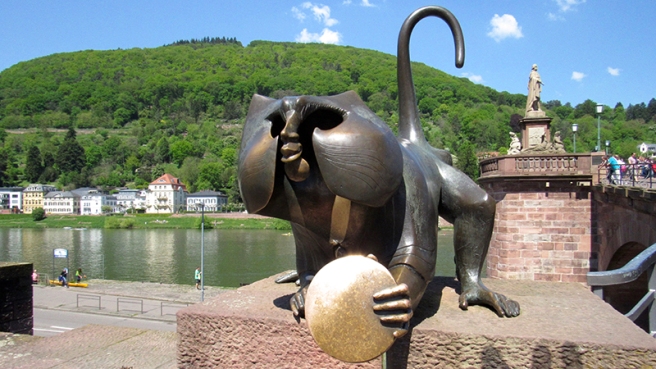
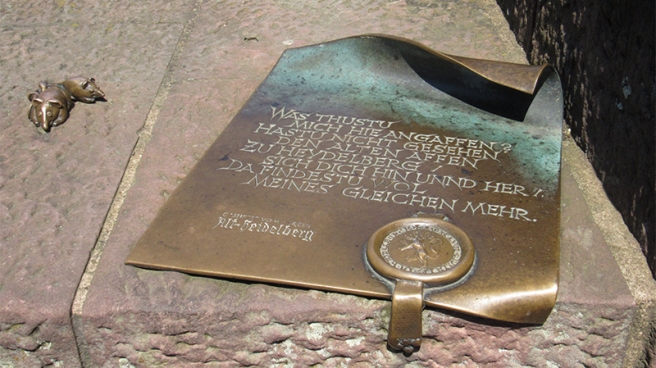
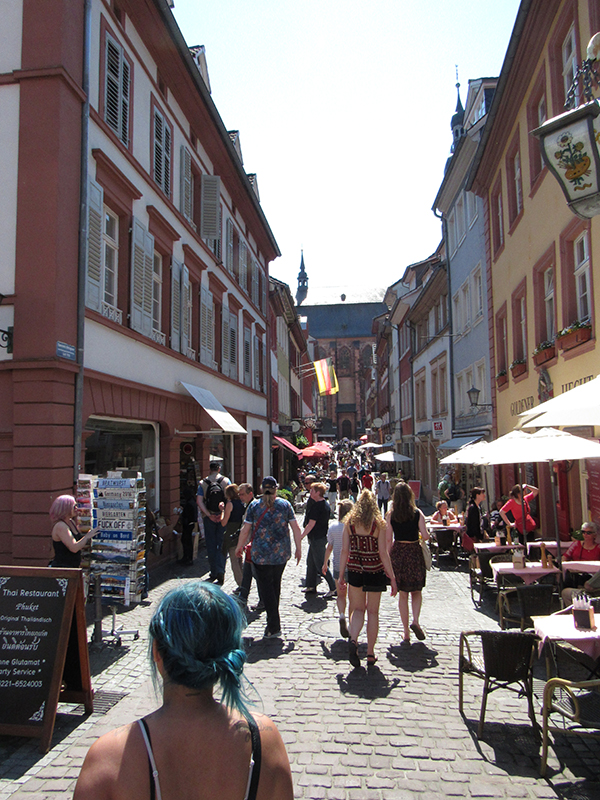
Heidelberg is a vibrant city with busy streets filled with students, locals, and tourists. The Karl Theodor Bridge (commonly called “Altebruecke” or “Old Bridge”) spans the Neckar River and features the Bridge Monkey statue and a couple of little mice. One legend suggests that touching the mirror that the monkey holds up will bring you wealth and will ensure you’ll one day return to Heidelberg; touching the mice, supposedly, will lead you to have many children.
A friend of mine asked me if I’d be able to make new cushion covers for her outdoor furniture so I’m currently in the midst of this project. I had to special order two of the three fabrics I’ll be using (which hasn’t run as smoothly as I’d liked…) and the one I show here we had to order online from JoAnns.
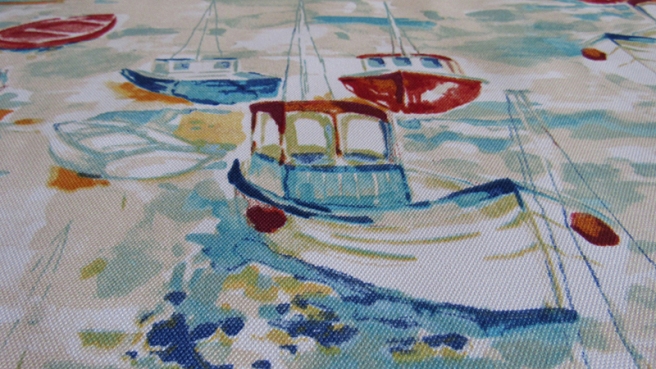
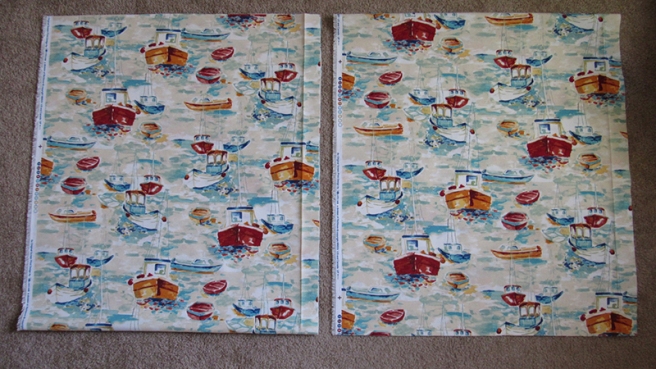
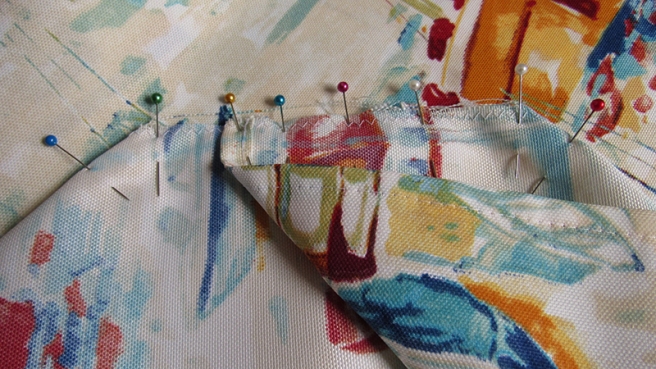
It took a while to find which fabric we wanted to use. My considerations were manifold: it needed to be dirt/stain resistant since it’ll be outside, it should be a happy color, and it shouldn’t fade too easily/badly. A multicolored fabric hits all those points: any stains could be masked by the pattern, it’ll be lively, and it won’t look splotchy if it fades. As I said before, we chose three fabrics in the end (we found too many that we liked): one is a more solid green/blue color (this is for the cushions to sit on; Solarium Outdoor Fabric in Lagoon), the one pictured here (used for some of hte back cushions; called Solarium Outdoor Fabric in Sail Away Sailor), and the third I’m still waiting on (also for back cushions; Solarium Outdoor Fabric in Cabana Huts). In the finished design the solid color unifies all the pieces while the sailboat and cabana hut patterns help add variety while still staying true to the theme.
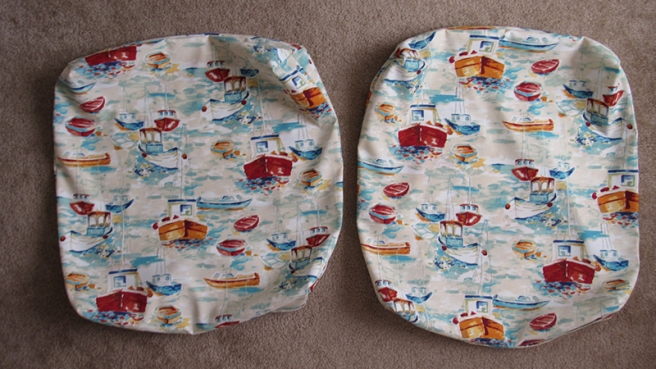
I’m quite proud with how the first two cushions came out so I wanted to share the work I did (the inside is as neat as the outside :)). I started at 7:50am yesterday and worked nonstop until 3:15pm to finish these. In fact I was so engrossed in my work that I didn’t even stop to eat. The pattern on the fabric made it a little more challenging to work with since I needed to figure out how to cut the fabric to make the two cushions identical. It was pretty easy in the end (time consuming and a bit tedious with measurements and such, but not too difficult). Anyways, here is how I did it!
***
Outdoor Cushion Process
1. Cut the fabric. For these cushions I needed my pieces to be 29x32in. Below you see the two sides of one cushion (the duplicates for the second cover are below). The 29in across does not include the white strip of the edge, but I left that on for a step later on.
2. Cut the corners to make it easier to shape the cushions. I took out a 3×3 square on the top of the fabric (top of the cushion) and a 3x5in piece on the bottom. I won’t be adding a zipper or buttons to close the covers so I wanted the bottom flaps to overlap enough so they keep the cushion inside while still allowing for the option to take the cover off for washing. Keep it practical! It’s important then to have enough fabric to have the two sides overlap and also to sew the edge over to have a clean edge so it looks professional.


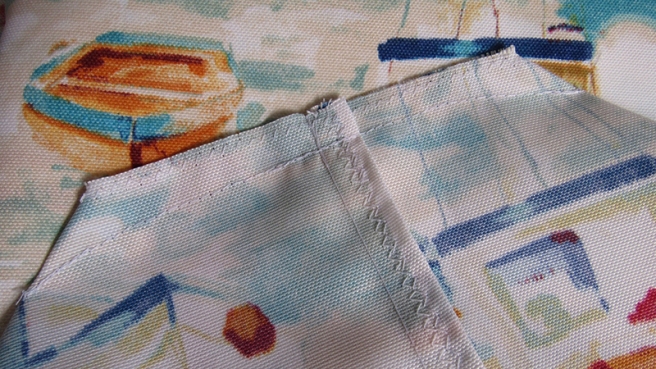
3. Handle the edges. I don’t have a serger but using a zigzag stitch along the edges does the trick too; this is done to keep the fabric from fraying. All cut edges should be sewn over. It takes a while, granted, but it ensures a quality end product.


4. Create a clean edge. Before sewing the appropriate pieces together, make sure the edges of the bottom parts of the fabrics (the 5in wings) are folded over so that the overlapping flaps are neat.
5. Sew the sides. I took the two pieces of the cushions (right sides together) and sewed the top edge and the two sides together, making sure that the corners I cut out were still open. Since these seams will need to withstand some tension I added an additional reinforcing zig-zag stitch on the inside of the straight stitch. I mentioned in step 1 that I kept the excess white stripe on the sides; I folded this over the inside seam allowance to reinforce the binding stitch. Note the corner is still open.
6. Form the corners. Fold the fabric pieces so that the corner forms; do this by bringing the centers of the seams on either side of the corner together and pinning it. The corner of the square that’s formed by the cut out piece should be the end of the line formed by bringing the sides together. As you can see I curved the stitch line a bit to give a rounded edge to the cushion. Reinforce the straight stitch with a zigzag on the inside of the seam (not seen on the photo below).
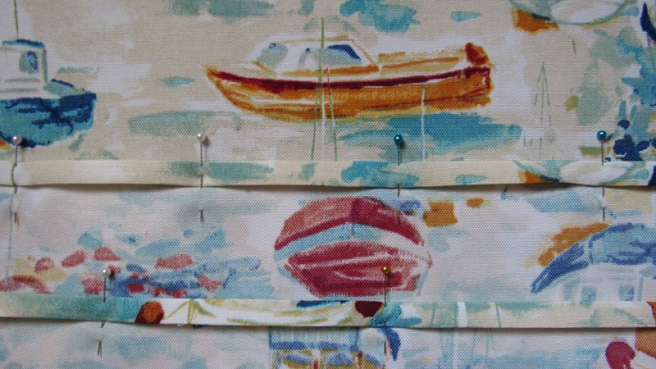
7. Close the bottom. Fold one of the longer bottom wings at a time like you did with the other two corners. Make sure to pin both sides the same way– pin one side of the flap and then the other to avoid accidentally sewing opposite sides of the flaps on either side. Mark the line you’ll stitch and sew. Do this carefully and reinforce the pressure points (where the flaps end for instance). Again I curved the corners a little to alter the look of the finished cushion.
8. Finished! After reinforcing all the seams on the inside and trimming any excess threads, turn the cushions around and admire! (The patterns on the cushions are identical, here I chose to show either side).
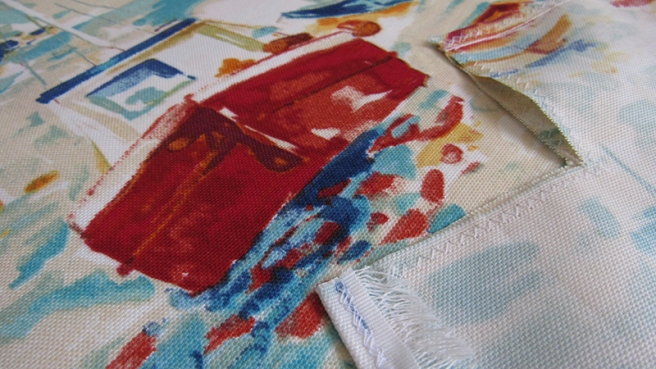
Detail shots!
From left to right: the top corner, the overlapping flaps at the bottom where the cushion will be inserted, and what the bottom corner looks like. As you can see, in the middle image, the edge extends past the center seam along the sides (unlike the top corner where everything meets neatly). If I’d used a zipper it would run across the middle, but my method leaves enough fabric overlapping to properly cover and hold the cushion.


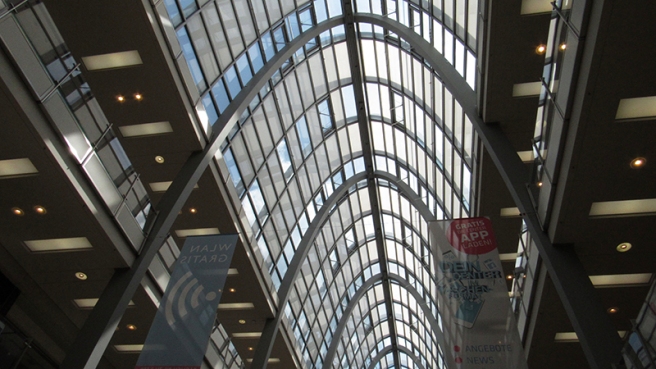
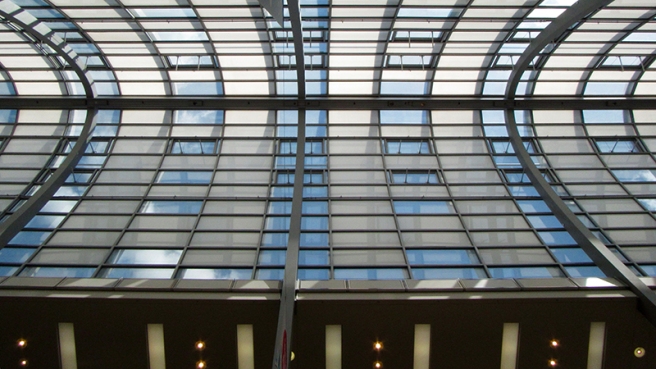
I tried to have a camera handy at all times last May while my friends and I were in Germany and Paris. Most of the time I didn’t have specific things in mind that I wanted to capture (except the sights of Paris that most people want to see) and, since you never know what you might come across, my mindset was better safe than sorry. Of course I made sure to actually experience being in Europe while I was there as well, I didn’t just try to capture it for later 🙂
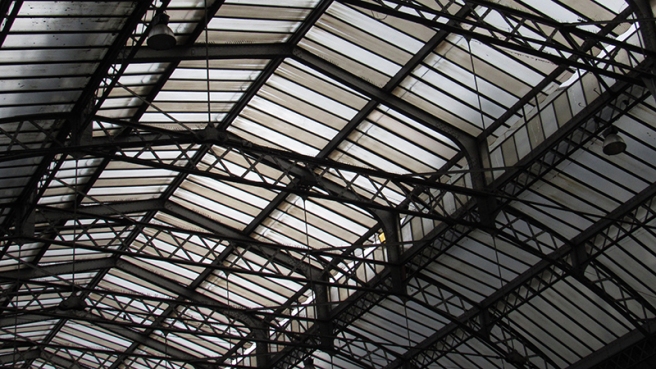
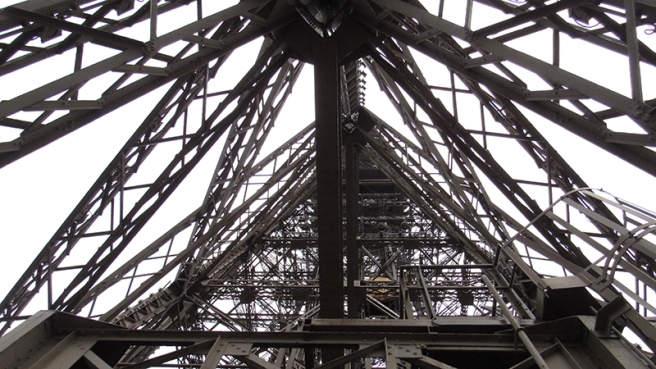
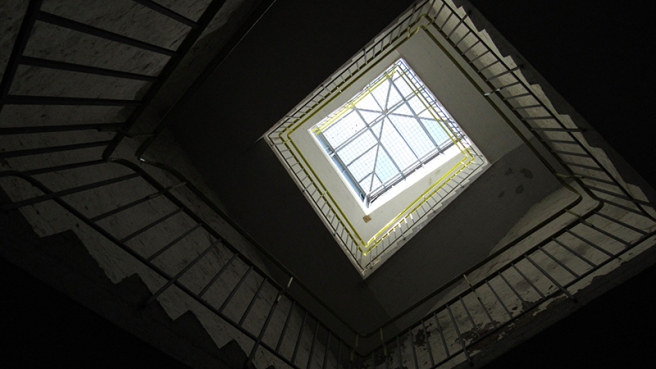
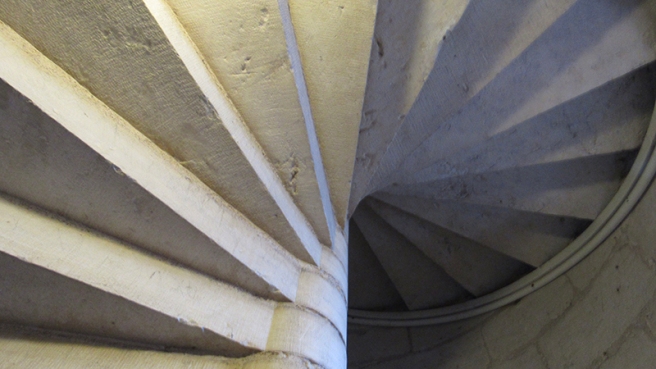
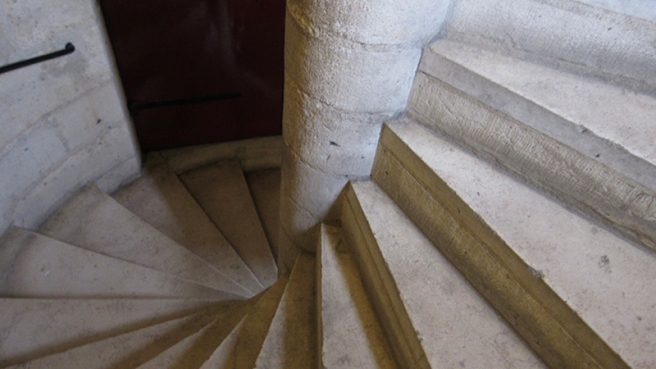
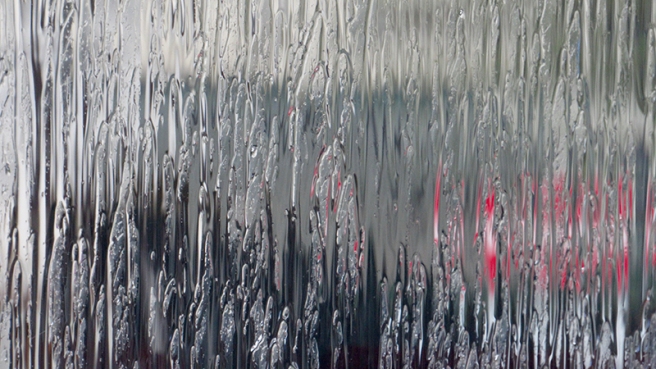
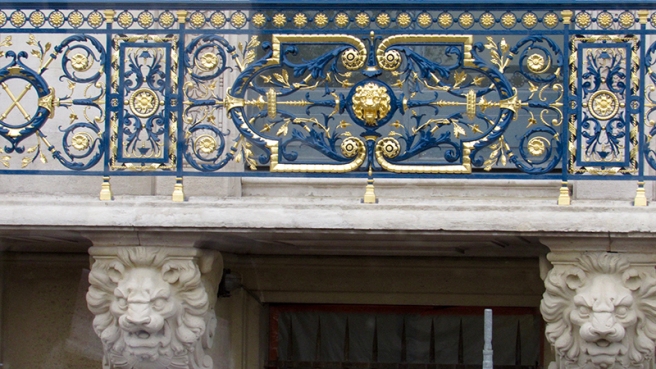
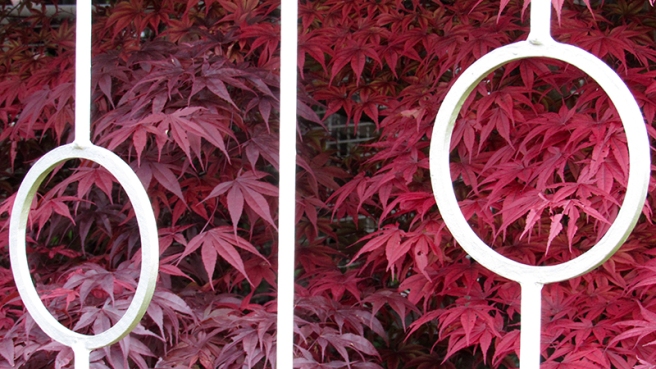
Some of the things that caught my attention were the patterns and colors all around. It seems to be a human trait to detect patterns and ascribe meaning to them (when applicable) and the photos here show some of the patterns that I found interesting.
I don’t know how many stairs my friends and I climbed during our vacation, but all I can say is that it was good exercise! There were so many spiral staircases and countless steps in Notre Dame alone– it seemed never-ending going up the towers and then again coming down– but it was good fun and surprisingly it didn’t leave me sore. I am pretty athletic but I have to admit that my legs were shaking by the time we got to the bottom of the stairs that led down from the Turmberg, somehow long, straight stretches of stairs are more intense than spiral ones it seems.
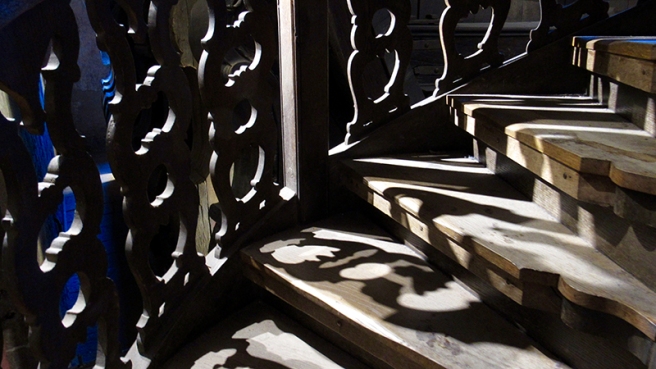
I loved the amount of walking we did during our trip, whether it was through nearby garden plots and forests in Germany, through Disneyland Paris, or the cities and villages we visited. Our trip to Heidelberg was lovely as well; the wooden staircase below is from the Castle there. Fun fact: the people of Heidelberg used to pay taxes in wine so there is a huge wooden barrel in the castle where the wine was kept and it actually has a wooden dance floor on top of it. Not only that, but because so much wine was consumed by the nobility and royals at the Schloss during their functions and the servants had to continuously run downstairs to get more and more wine– leave it to German engineering– they eventually developed a pump system that allowed the wine to simply be pumped upstairs. Nifty, huh? If you ever make it to Heidelberg, be sure to visit the Castle and do the guided tour– there’s so much cool information and the grounds are breathtaking as well.
Anyways, that’s all I’ve got to share for now. I’ve got another post queued up that flows nicely from this one (another photo sequence) so keep an eye out for that. Until then, happy travels and creativity!
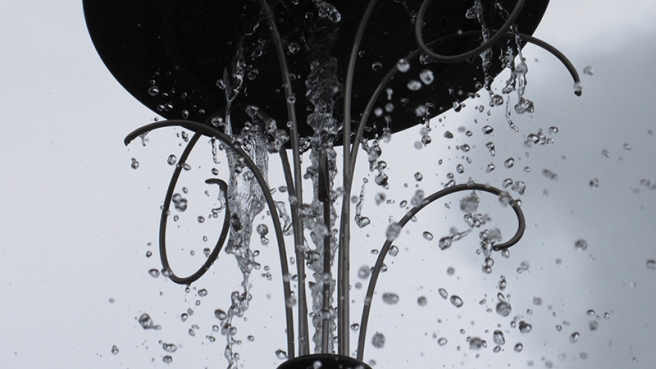

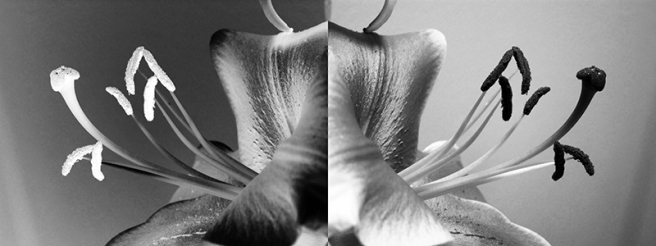
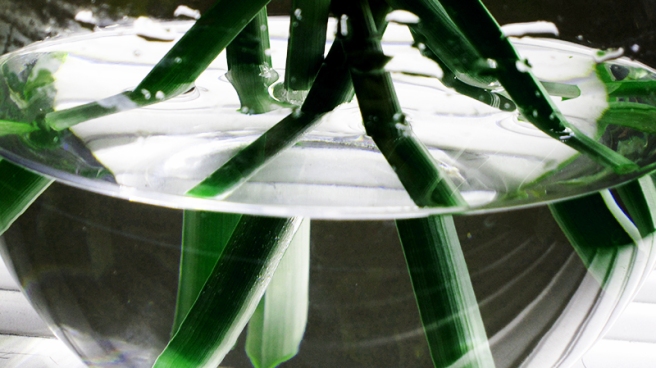
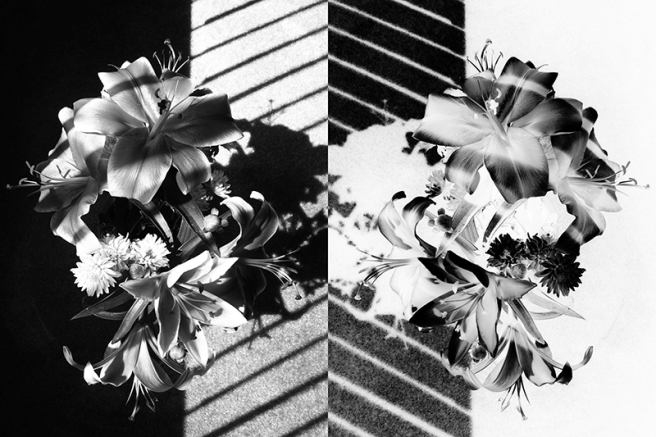
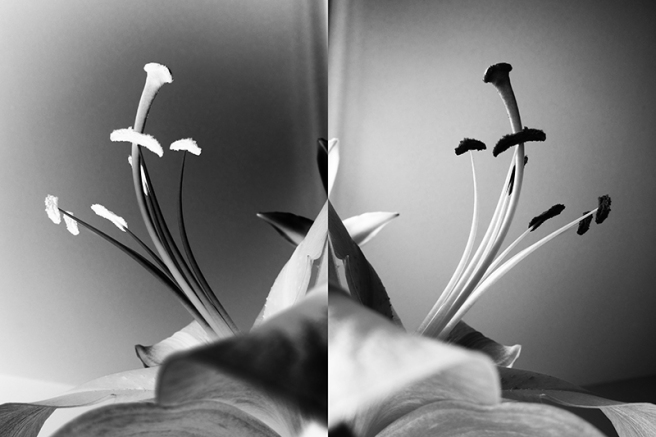
I’ve written before about my love for photography and my fascination with the darkroom. Lately I’ve found myself preferring the older, yet timeless and classic look of black and white photographs, even though the lilies I’ve used as my subject have been beautifully vibrant in the flesh. What’s more is I’ve played around with inverting colors using Photoshop, which does something magical to the black and white images, namely transform them into their corresponding negatives so that they look just as they would appear on the 35mm film I used to use in my high school photo class.
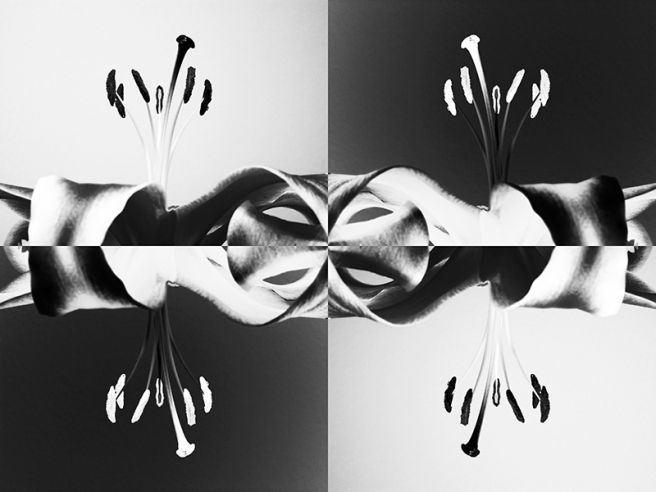
My friend mentioned that a photo I posted reminded him of an Andy Warhol piece and while I’ve never been a huge pop art fan I do enjoy patterns and mirroring so I’ve played around with these elements a bit to get the images I’m sharing here today.
The idea of inverting things in order to see them in a new way– with fresh eyes, so to speak– is something I’ve thought of for some time now and I’ve wondered if I can write some sort of argument or commentary about it. I’ve even considered trying to submit a photo series, along with whatever commentary I manage to pen, to a contemporary art museum. I have started something but it isn’t finished yet, who knows if it will ever reach the light or find an audience. Should I come up with something that I find interesting enough to share I’ll post it here for sure. Meanwhile enjoy these images and always entertain the thought that looking at things just a little bit differently might lead you to learn something new or discover something wonderful.
Cheers!
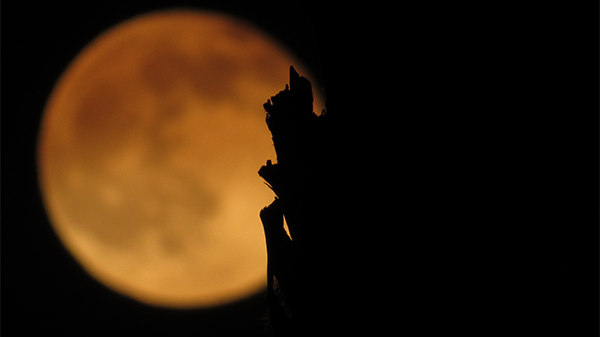
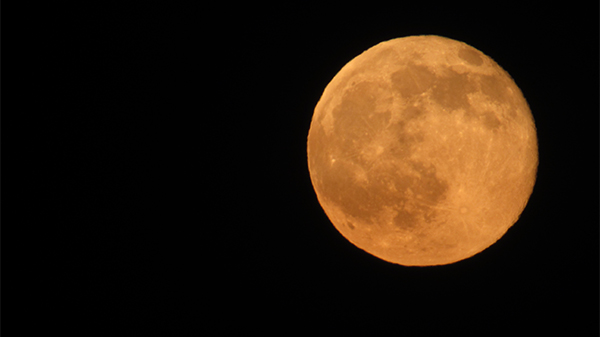
A good friend of mine sent me a link a few days ago to let me know about the Strawberry Moon this year. What makes this moon special (from what I read) is that it’s the first time in about 70 years that the full moon coincides with the summer solstice. It was described as a once in a lifetime event so naturally I wanted to check it out.
The moon was beautiful, as you can see, with a lovely golden color (not a pinkish-strawberry color as I expected or hoped for haha). While I like how these photos turned out, I could kick myself for an image I missed.
Let me set the scene: I had my tripod set up and the self-timer on to avoid any movement when the shutter goes. Now as the timer counted down I saw the blinking light of a plane coming towards the moon and I estimated that it would cross somewhere near the moon in the frame I had set up. Turns out that the plane crossed right over the center of the moon, giving me a beautiful silhouette of it, but the timer didn’t run out in time and I missed it. I can’t lie, I stared wide-eyed at the display for a couple seconds because I was disappointed at having missed it and also awestruck by how beautiful it had looked.
So, while I didn’t capture it on film (which would have been fabulous to share with you now) I at least saw it on the display which was quite a treat. Anyway, enjoy these two images!
If you look up the Strawberry Moon you can find another person’s photo of the plane in front of the moon which is quite nice.
Ciao!
Ines 🙂
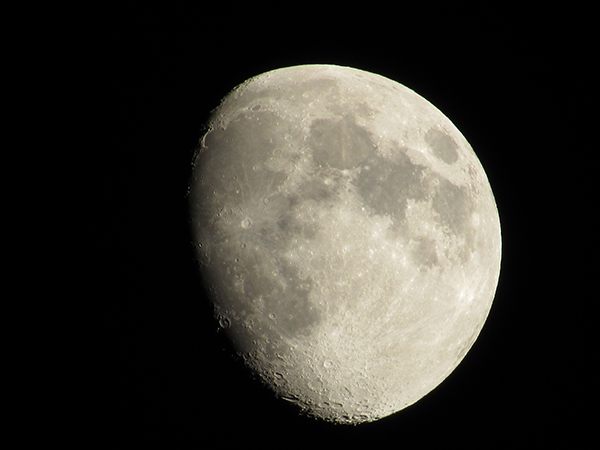
After the last photos I took of the moon, and finding out just how great the zoom capabilities of my new camera are, I decided to take some more.
Eventually I’d like to take a series that documents the moon as it waxes and wanes but for now this is my newest addition. I went outside last night– we had a beautiful clear sky here– and set up my tripod to get as clear an image as possible. It was actually quite fascinating doing these photos because when I zoomed in this much (50-100x) I could watch the moon travel across the screen on my camera as the self-timer counted down before taking the photo.
I’ve never been able to take such detailed and clear photos of the moon before– this is so exciting! Hopefully this image will bring a smile to you as it has to me.
Space is so cool!
Travel through the air
Over land and over sea
Airplanes, trains, and cars
I was a few weeks old when I boarded my first airplane. Until recently planes were the only major public transport system I’ve used. (As a little girl I’d been on trains or buses but I can’t remember these trips so I don’t really count them.)
My friends and I just returned from a trip to Europe. We had a wonderful time, made lots of memories, and tried to see all that we could. In addition to having ample opportunities to take photos (I took over 1500 in total) I also learned how to use trains, the Straßenbahn, and the metro. It sounds lame, especially to anyone living in a big city, but Southern California doesn’t really have a great/extensive public transport system and I don’t live in a major city so I’ve never had to concern myself with reading train timetables and route maps. Where I live, if people want to get around they use their cars or might carpool, but other options are rather limited.
Our small group of three worked well together and we could pool our knowledge to get around safely: my friend knew the area (in Germany), I spoke the language (German and a little French for our trip to Paris), and our third friend knew about public transport (from her experiences living in larger cities worldwide).
Since we traveled quite a bit I’ll be sharing some of the best photos that sum up all the modes of transportation we used throughout our trip. The first set of photos will be up in the next few days.
Ciao!
Ines
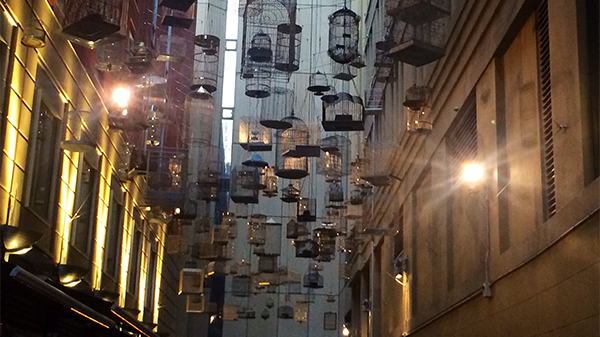
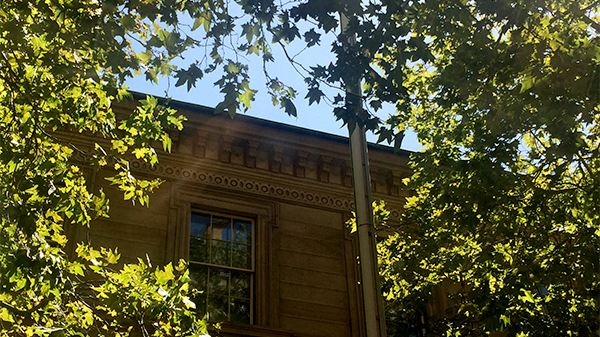
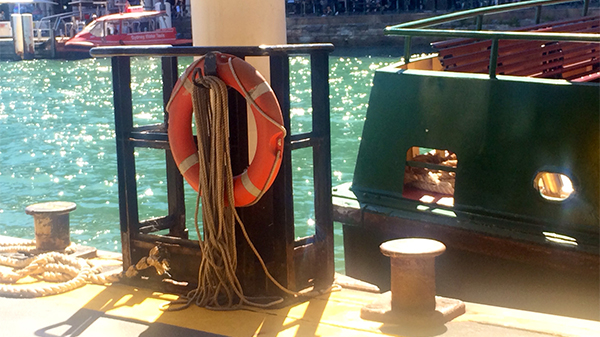
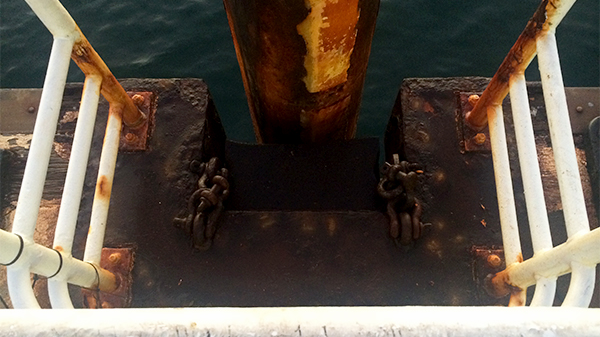
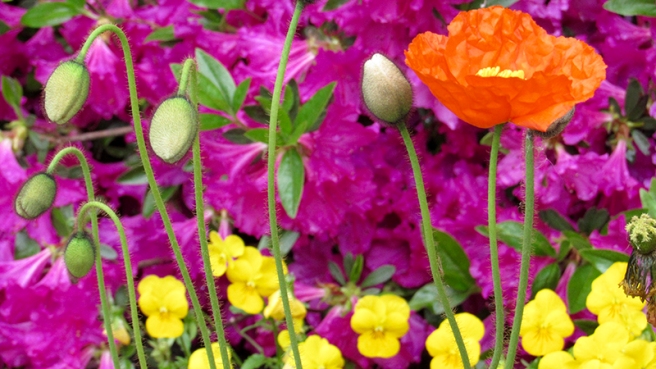
There are so many beautiful and interesting things in the world around us. I think it is a shame that so many people walk around looking down at a little screen in their hands, missing it all, instead of enjoying and seeing the things that are within reach.
Try it, keep the phone away and out of sight, so you can look up and down, left and right, and see the things you’d have otherwise missed.
These are just a few little sights I caught while I was in Sydney.
P.S. I might not be able to post for the next three weeks, but as soon as I am back I’ll catch up for sure! Ciao until then!